How to use multiple colors based on the new user color selector for {ucolor}

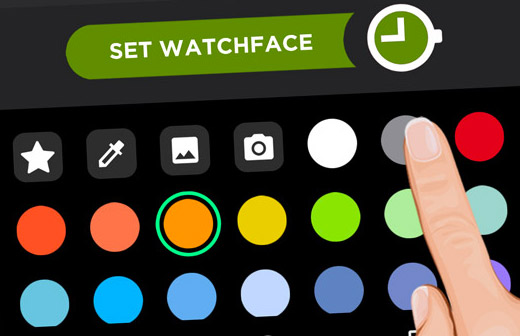
The Watchmaker app was updated some weeks ago and introduced a new cool color selector right inside the app.

This is very convenient for both: The users and the designers / developers.

As a developer you just have to use the variable {ucolor} instead of a color code or your own color variable. Here’s the wiki documentation: ucolor [Watchmaker Wiki]

The first thing I did was to update my Homer Simpson Duff Beer Watch to take advantage of the new selector.

This slideshow requires JavaScript.

As you might know this watch face not only consists of one changeable color but two: One for the background and one for the hands.

So, how can we change two colors by just using one selected color?

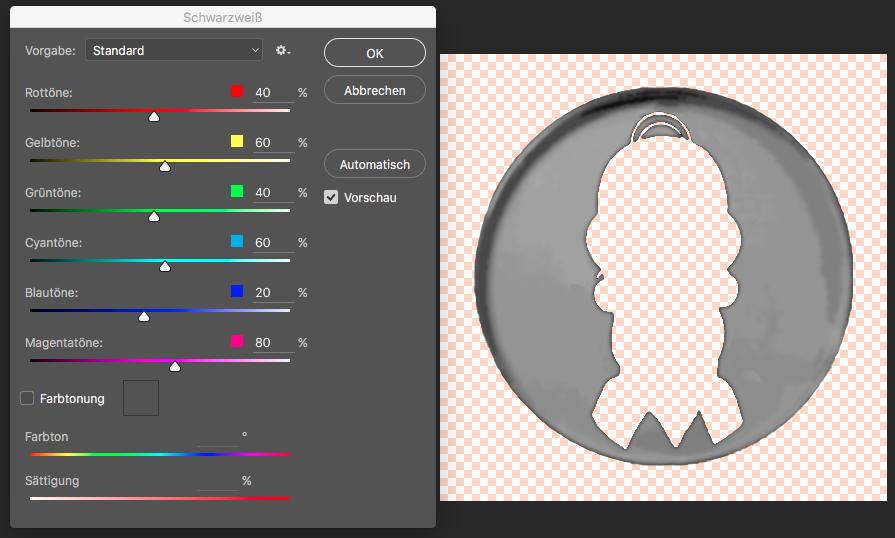
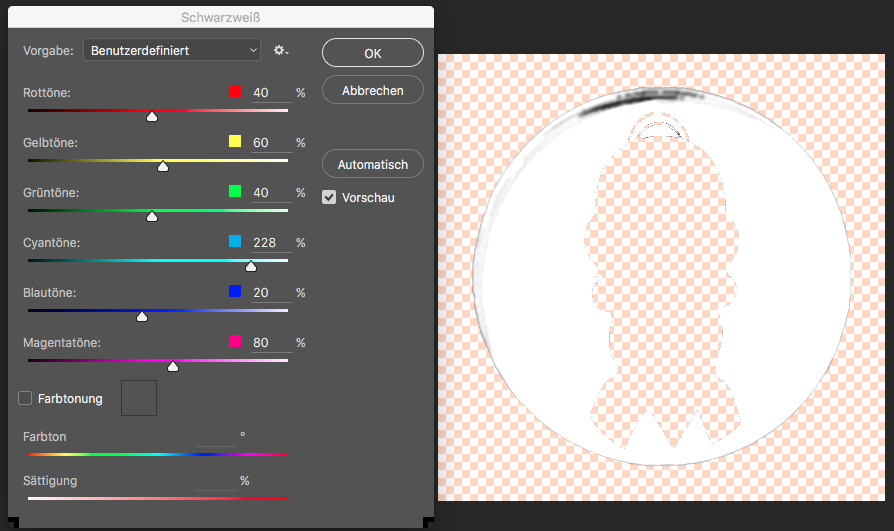
The solution is the shader HSV. You can change the color’s hue, saturation and value based on the set color for the element.

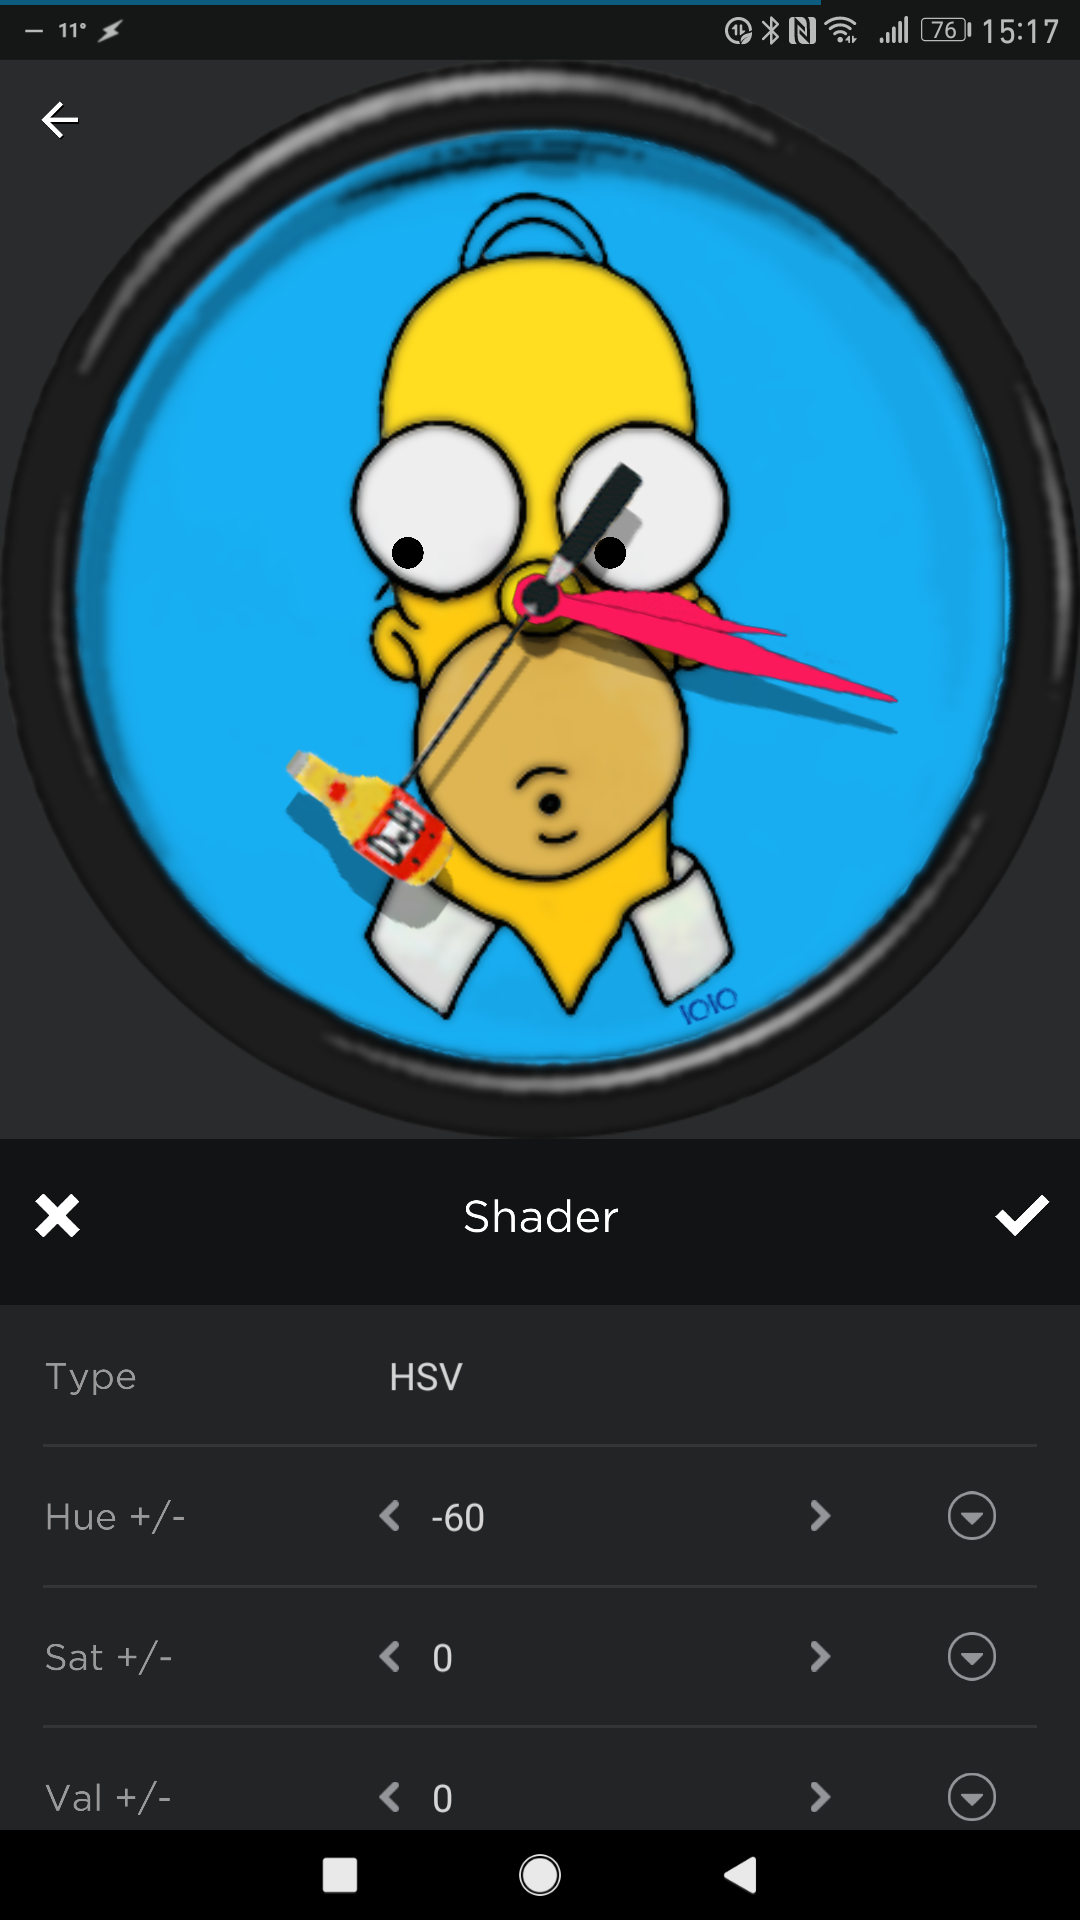
With the help of the hue value of the shader you can define a different color in the spectral color circle in relation to the selected base color (i.e. {ucolor}).

Of course you should play around with the other properties of the HSV shader as well. The following diagram shows you the principle of HSV and you can get more information on wikipedia.

HSV color solid cylinder alpha lowgamma.png
By HSV_color_solid_cylinder.png: SharkD
derivative work: SharkD  Talk HSV_color_solid_cylinder.png, CC BY-SA 3.0, Link

Complementary Colors

The hue value of the shader is restricted to the additive color mode of spectral light. Because of that, you can’t use the concept of traditional complementary colors. They are based on the subtractive color mode. If you’d like to use this kind of concept, you have to write (or find) a conversion lua script function for that.

If you don’t care about the traditional complementary colors you can of course use the RGB complementary colors by using the hue value of “50”.

Further possibilities

You can also use the RGB shader to limit or boost the primary color share of the selected {ucolor}. Unfortunately you can’t combine shaders for one and the same element.

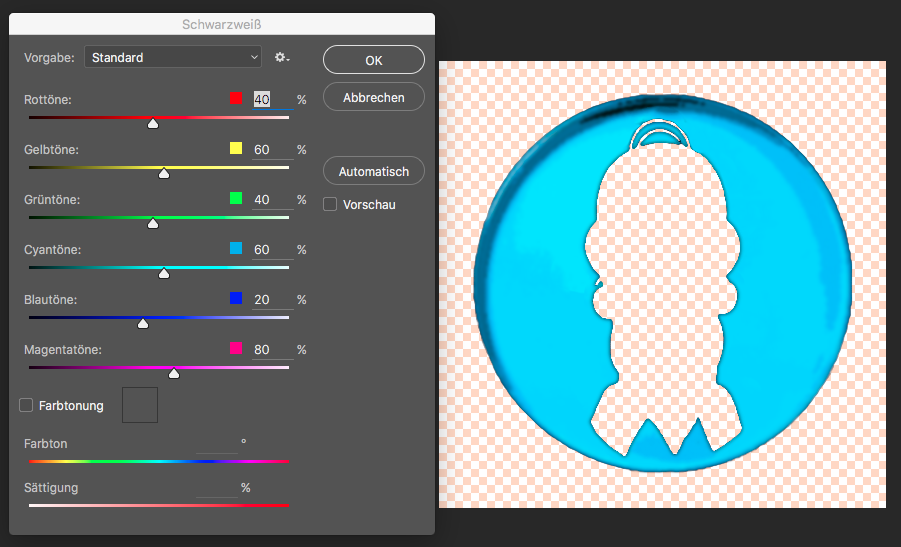
You can always control the “V” (color value) of HSV by using a grey scale for the bitmap images. You can read more about coloring bitmap images in this article: Color changing.

Color changing

Shortly after releasing my Homer watch face, one user suggested a feature to change the colors of the watch face background.

I liked the idea, so I implemented a color change function, which I describe now.

Asset production

The first thing to do, is to remove the colors of the graphic assets, which should be affected by the color change function. The graphic assets should be as white as possible and only contain grey scale colors to represent structure or shadows. Of course you can use any graphics program. I use Photoshop like so:

Please note, that this procedure isn’t the same as just removing color out of a colored image by pulling down the saturation. With the black & white adjustment function, you can control how the color is translated to black, white or a grey color. You can get more information about this in Adobe’s tutorial: Convert a color image to black and white.

Scripting the color change

Now, back to WatchMaker: replace the original background image with the new whitened asset.

Preparing the script

In the main script we need to set up an array variable which contains the color codes:

var_color = {'21d5ff', '2160ff', 'c821ff','f2ff21','ffbe21','21ff7f','37ca52','ff2121','b04040','000000','fefefe','999999'}

To select one of these colors, we need an index variable, which contains the index of the first color code as default:

var_index = 1

Now you can set the tint color of the whitened background image to:

var_color[var_index]

This means: Display the color (var_color) of the current index number (var_index).

The white background should be displayed in cyan, because this is the first color of the colors array.

Implementing the change function

Now we need a function to change the color.

In the script part we include a very simple color change function, which simply increments the index value (var_index):

function click_col_change()
var_index = var_index + 1
end

Each time, the function is called, it increments the value of the index by one. It’s easy to imagine, that we don’t have infinite colors in our colors array. So we need to reset the index value to the first index number, if the number of available colors are exceeded.

To get the number of colors, we simply have to count the number of array entries with the length function “#”. To save calculation resources, we store the result of the count in a separate variable.

var_num_cols = #var_color

Now we can check, if the number of available colors are reached and reset the index variable inside the color change function:

function click_col_change()
if (var_index >= var_num_cols) then var_index = 0 end
var_index = var_index + 1
end

I thought, the easiest way for the user is to change the color by simply tapping in the middle of the watch face.

The only thing to do is to tap on the background image and apply a tap action for scripts which consists of the function call:

click_col_change()

Now, we are done with the background color change function.

Adding more color changes

We can use the tint function for any other graphic asset or any other colored elements by simply applying 

var_color[var_index]
instead of a single color code.

If you want to use corresponding foreground colors, you only need another array of colors with the same amount of colors as the first array of colors. I used that for the hours and minutes hand.

Here’s the complete script:

var_color = {'21d5ff', '2160ff', 'c821ff','f2ff21','ffbe21','21ff7f','37ca52','ff2121','b04040','000000','fefefe','999999'}
var_color2 = {'da1a01', 'da1a01','da1a01', 'da1a01','da1a01','da1a01','da1a01','011ada','6069c0','da1a01','da1a01','da1a01'}
var_num_cols = #var_color
var_index = 1

function click_col_change()
if (var_index >= var_num_cols) then var_index = 0 end
var_index = var_index + 1
end